
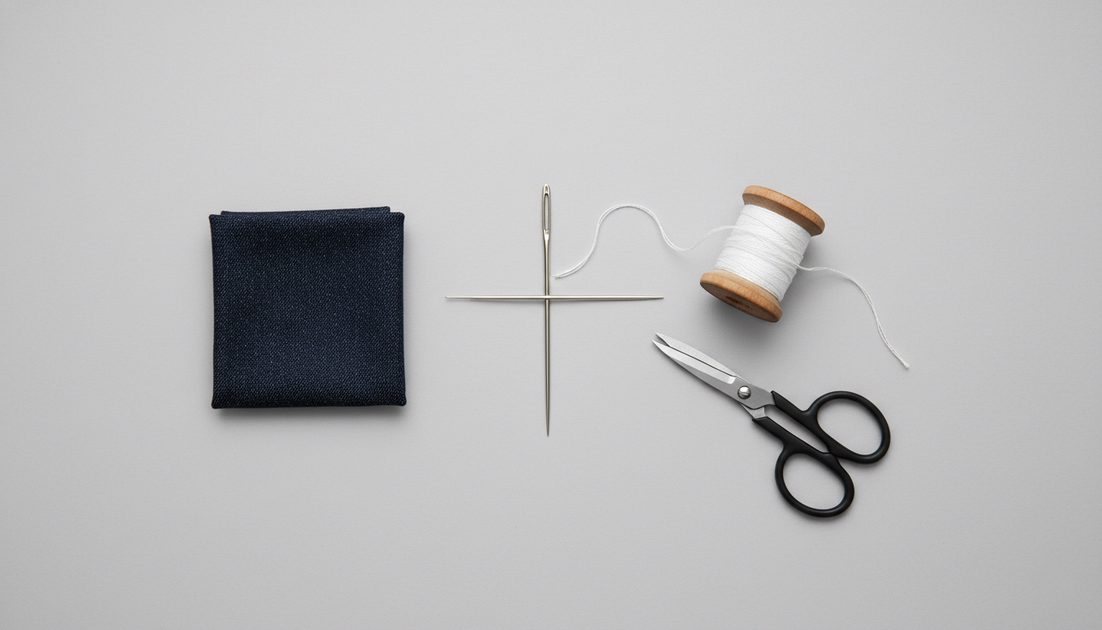
What You Need
Needle (a longer one works better)
Sashiko thread (thicker than normal thread, usually white)
Fabric scraps or extra thread
Jeans or a jacket with a hole or thin spot
Scissors
I bought my first sashiko needle for $4. A pack of thread was $6. That's all I spent.
What I Messed Up So You Don't Have To
The first time I tried sashiko, I pulled the thread too tight. The fabric bunched up like a raisin. Couldn't iron it flat. Had to cut all the stitches out and start over.
The second time, I used regular sewing thread. Too thin. The stitches disappeared into the fabric. What's the point of mending if no one can see it?
The third time, I picked a spot that wasn't actually weak. Just a small stain I didn't like. The stitches looked weird there. Out of place. I should have left that spot alone.
I learned to only mend places that need mending. Holes. Thin spots. Seams that are coming apart. Let the damage tell you where to stitch.
How I Finally Got It Right
Step one: Pick your spot
I had a pair of jeans that were thinning at the right knee. Not a hole yet. Almost. You could see light through the fabric.
I decided to strengthen that spot before it broke.
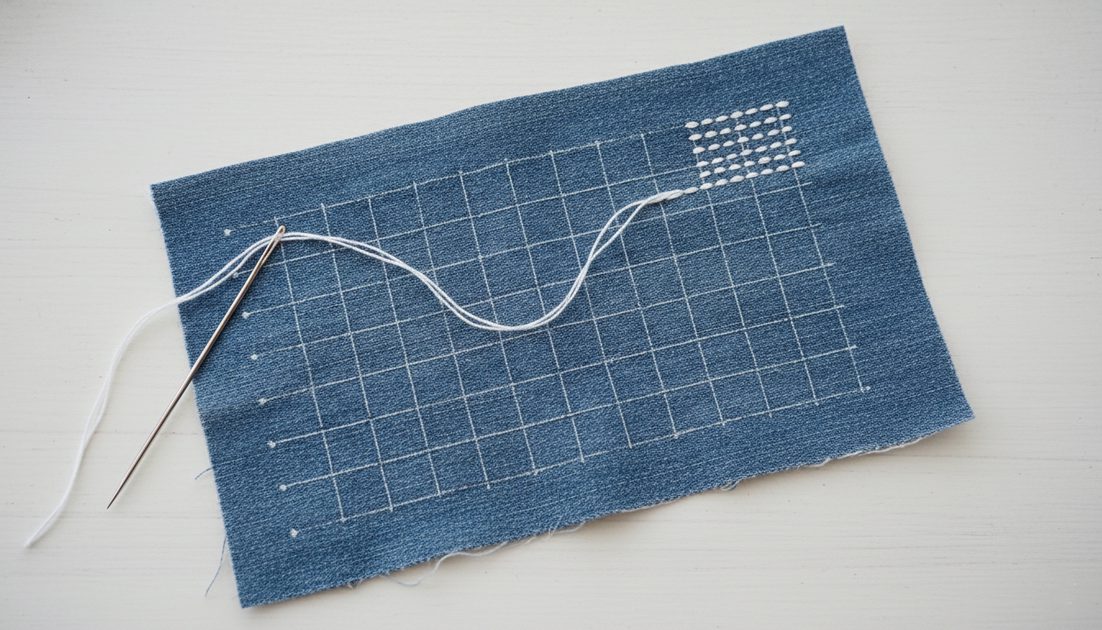
Step two: Draw your grid
Sashiko is about straight lines. I used a ruler and a piece of white chalk. Drew a grid of dots about half an inch apart.
My first grid was crooked. I erased it with a wet paper towel and tried again. The second grid was better. Not perfect. Good enough.
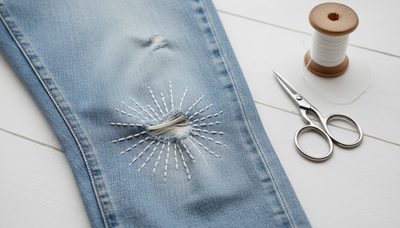
Step three: Stitch without pulling
This took practice. The needle goes in and out like a wave. You don't pull the thread tight. You leave it loose on top of the fabric.
I messed up the first three rows. The stitches were different sizes. Some too long, some too short. I kept going anyway. By row four, my hand figured it out.
Step four: See what happens
The finished knee looks like a grid of white dashes. The thinning fabric underneath feels solid now. You can see every stitch I made. The crooked ones. The uneven ones. The ones that are a little too close together.
I wore the jeans to get coffee. Someone asked where I bought them that way.
The thing about sashiko is it shows your mistakes. Every uneven stitch is right there. No hiding. That used to bother me. Now I think it's the point.
Put it in the comments. I want to see what you fixed.