How to Alter Vintage Clothing to Fit: A Practical Guide
You found the perfect 1950s dress at a flea market. The fabric is a dream—a cotton floral print with an invisible zipper and tiny pearl buttons. But when you try it on, it sags at the waist and pulls at the shoulders. Before you relegate it to the back of your closet, know this: learning how to alter vintage clothing to fit is one of the most rewarding skills you can develop. It lets you bring a piece of history into your daily life, exactly as you are.
Vintage sizing is not modern sizing. A size 10 from 1960 is closer to a modern size 4. The proportions are different too—shorter torsos, narrower shoulders, lower armholes. That means almost every vintage garment needs some adjustment. The good news is that most alterations are straightforward and don't require a sewing machine. A little needle and thread, a seam ripper, and patience are often enough.
Why Vintage Sizing is Different
Before you pick up a needle, understand what you're working with. Garments from the 1940s through 1980s were made to different standard measurements. A woman's dress from the 1950s typically had a smaller waist-to-hip ratio than today's clothing. The bust darts were placed higher. Sleeves were cut with less ease. Fabric had more structure—wool, linen, heavy cottons—that held shape differently than modern knits. This matters because altering vintage clothing to fit isn't just about making it smaller or bigger; it's about respecting the original construction. If you take in a side seam too aggressively, you might distort a print or pull out a facing.
Essential Tools and Prep
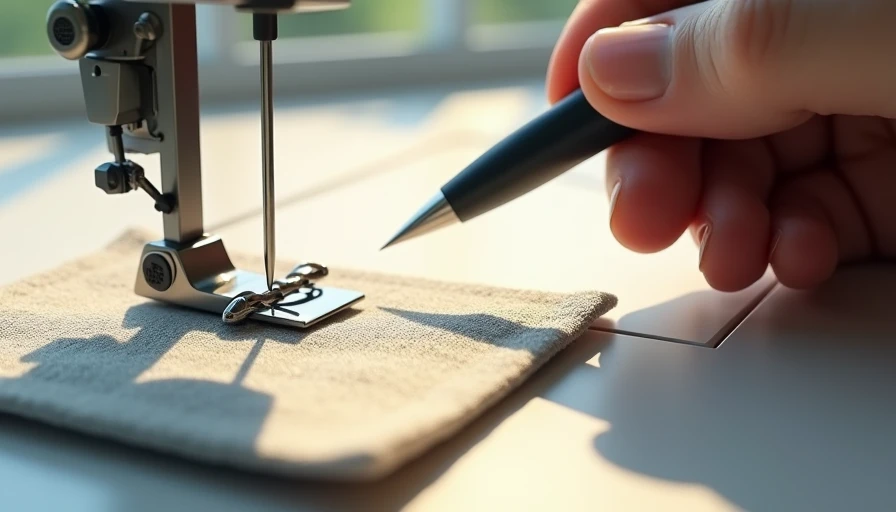
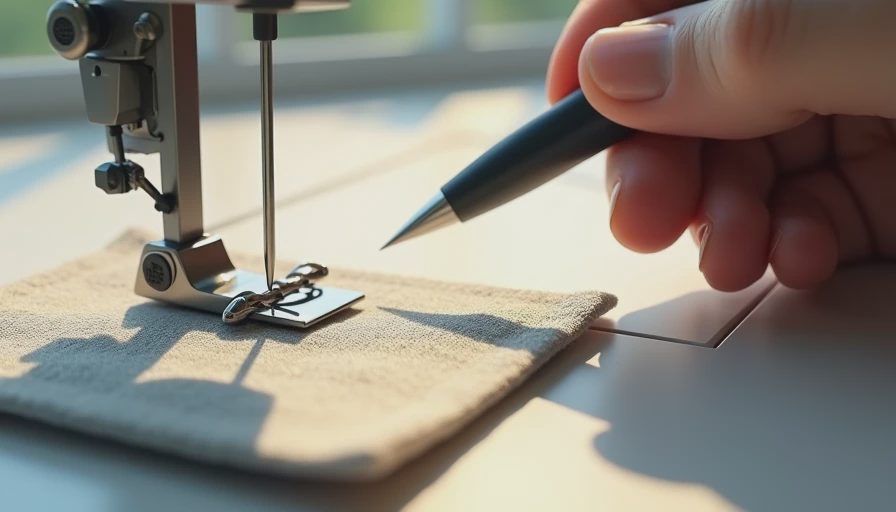
Start with good light and a clean surface. You'll need a seam ripper (the kind with a tiny blade), sharp dressmaker's scissors, pins with glass heads (they don't melt under an iron), a tape measure, and thread that matches the original. For most alterations, a simple hand-sewing needle is fine—size 7 or 8 for medium-weight fabrics. If you're working with silk or rayon, use a fine needle (size 9 or 10) to avoid leaving holes. Always wash and press the garment first. Old fabric can be delicate; a gentle hand wash in cold water with mild soap will remove decades of dust and reveal any weak spots.
Common Alterations: Taking In and Letting Out
The most frequent alteration for vintage dresses and blouses is taking in the side seams. Turn the garment inside out. Put it on, have a friend pin along the seam line where you want the new fit. Then lay it flat and sew a new seam 5/8 inch inside the original, tapering at the waist and hip. If you need more room, check for seam allowance—most vintage clothes have generous 1-inch allowances. Rip out the original stitch and resew closer to the edge. For letting out, you may need to add a fabric panel if the original seam allowance is too narrow. That's okay—you can use a coordinating fabric from a scrap or a contrasting color for a visible mending effect. Knowing how to alter vintage clothing to fit includes knowing when to add, not just subtract.
Hemming and Sleeve Adjustments
Vintage hemlines are often raw on the inside or have a deep fold. To shorten a hem, first remove the original stitching carefully with your seam ripper. Press the fabric flat, then pin the new hem at the desired length. Use a blind stitch that only catches a thread of the outer fabric, so the stitch is invisible from the right side. For sleeves, the challenge is often the armhole depth. Vintage garments have lower armholes, so you may need to raise the shoulder seam. This is more complex—you'll need to adjust the sleeve cap—but for simple cap sleeves, you can often just take a tuck at the shoulder. If the sleeve is too tight, let out the underarm seam. Remember to try on repeatedly. Each pin adjustment saves you from a seam ripper session.
When to Seek a Professional
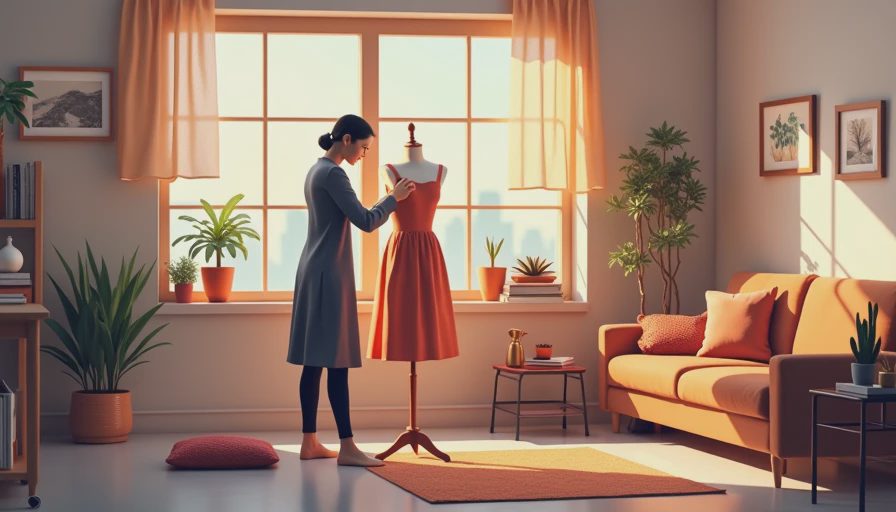
Some alterations are best left to a tailor, especially if you want to preserve the garment's value. Changing a princess seam on a 1960s coat, resizing a beaded 1920s flapper dress, or altering a structured blazer—these require specific skills. A good tailor will charge $20 to $40 for a simple hem, $50 to $75 for taking in a dress, and $100 or more for a full recut. Before you hand it over, ask if they've worked with vintage fabrics. Many tailors are used to modern synthetics and might not know how delicate old silk can be. If the cost exceeds the garment's value, consider whether the alteration is worth it for the joy of wearing it. Sometimes, a few hand stitches are enough.
Final Thoughts: Respect the Garment
The best clothes don't just age. They remember. When you learn how to alter vintage clothing to fit, you become part of that memory. You're not just adjusting fabric; you're continuing a story. Take your time, test stitches on scraps first, and never cut a seam you can't resew. With practice, you'll develop an intuition for what a garment needs—and what it can give back. That 1950s dress will finally hang on your shoulders like it was made for you. Because in a way, it was.